You've been contemplating installing that shower screen yourself, but you're unsure whether to take the plunge. Sure, it's a task that demands precision and patience, but have you considered the potential challenges and the expertise required? While the sense of accomplishment and the money saved can be enticing, the installation process is far from straightforward. Ensuring perfect alignment, drilling into tiles without causing damage, and securing a watertight fit all demand a high level of skill. Ready to tackle that DIY project? Let's discuss further and see why contacting A1 Shower Screens for professional installation might be the wiser choice.
Before diving into the installation process, it's crucial that you understand the different types of shower screens available in the market, and understand which is best for you.
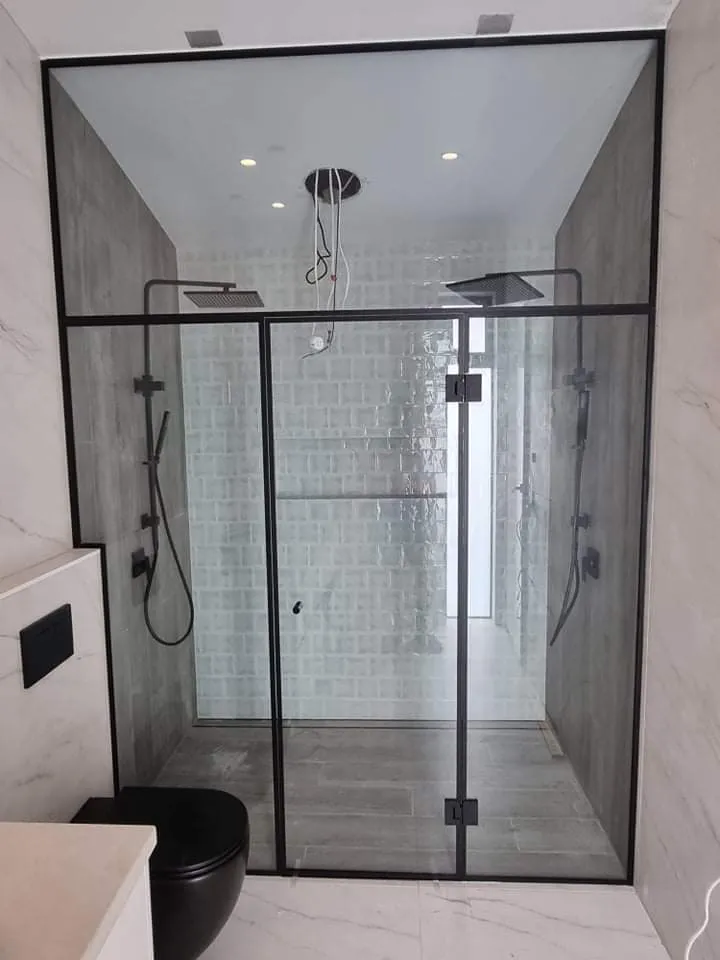
Full-Framed Shower Screen: Known for its sturdy design and durability. It features a frame around all edges, providing structural support.
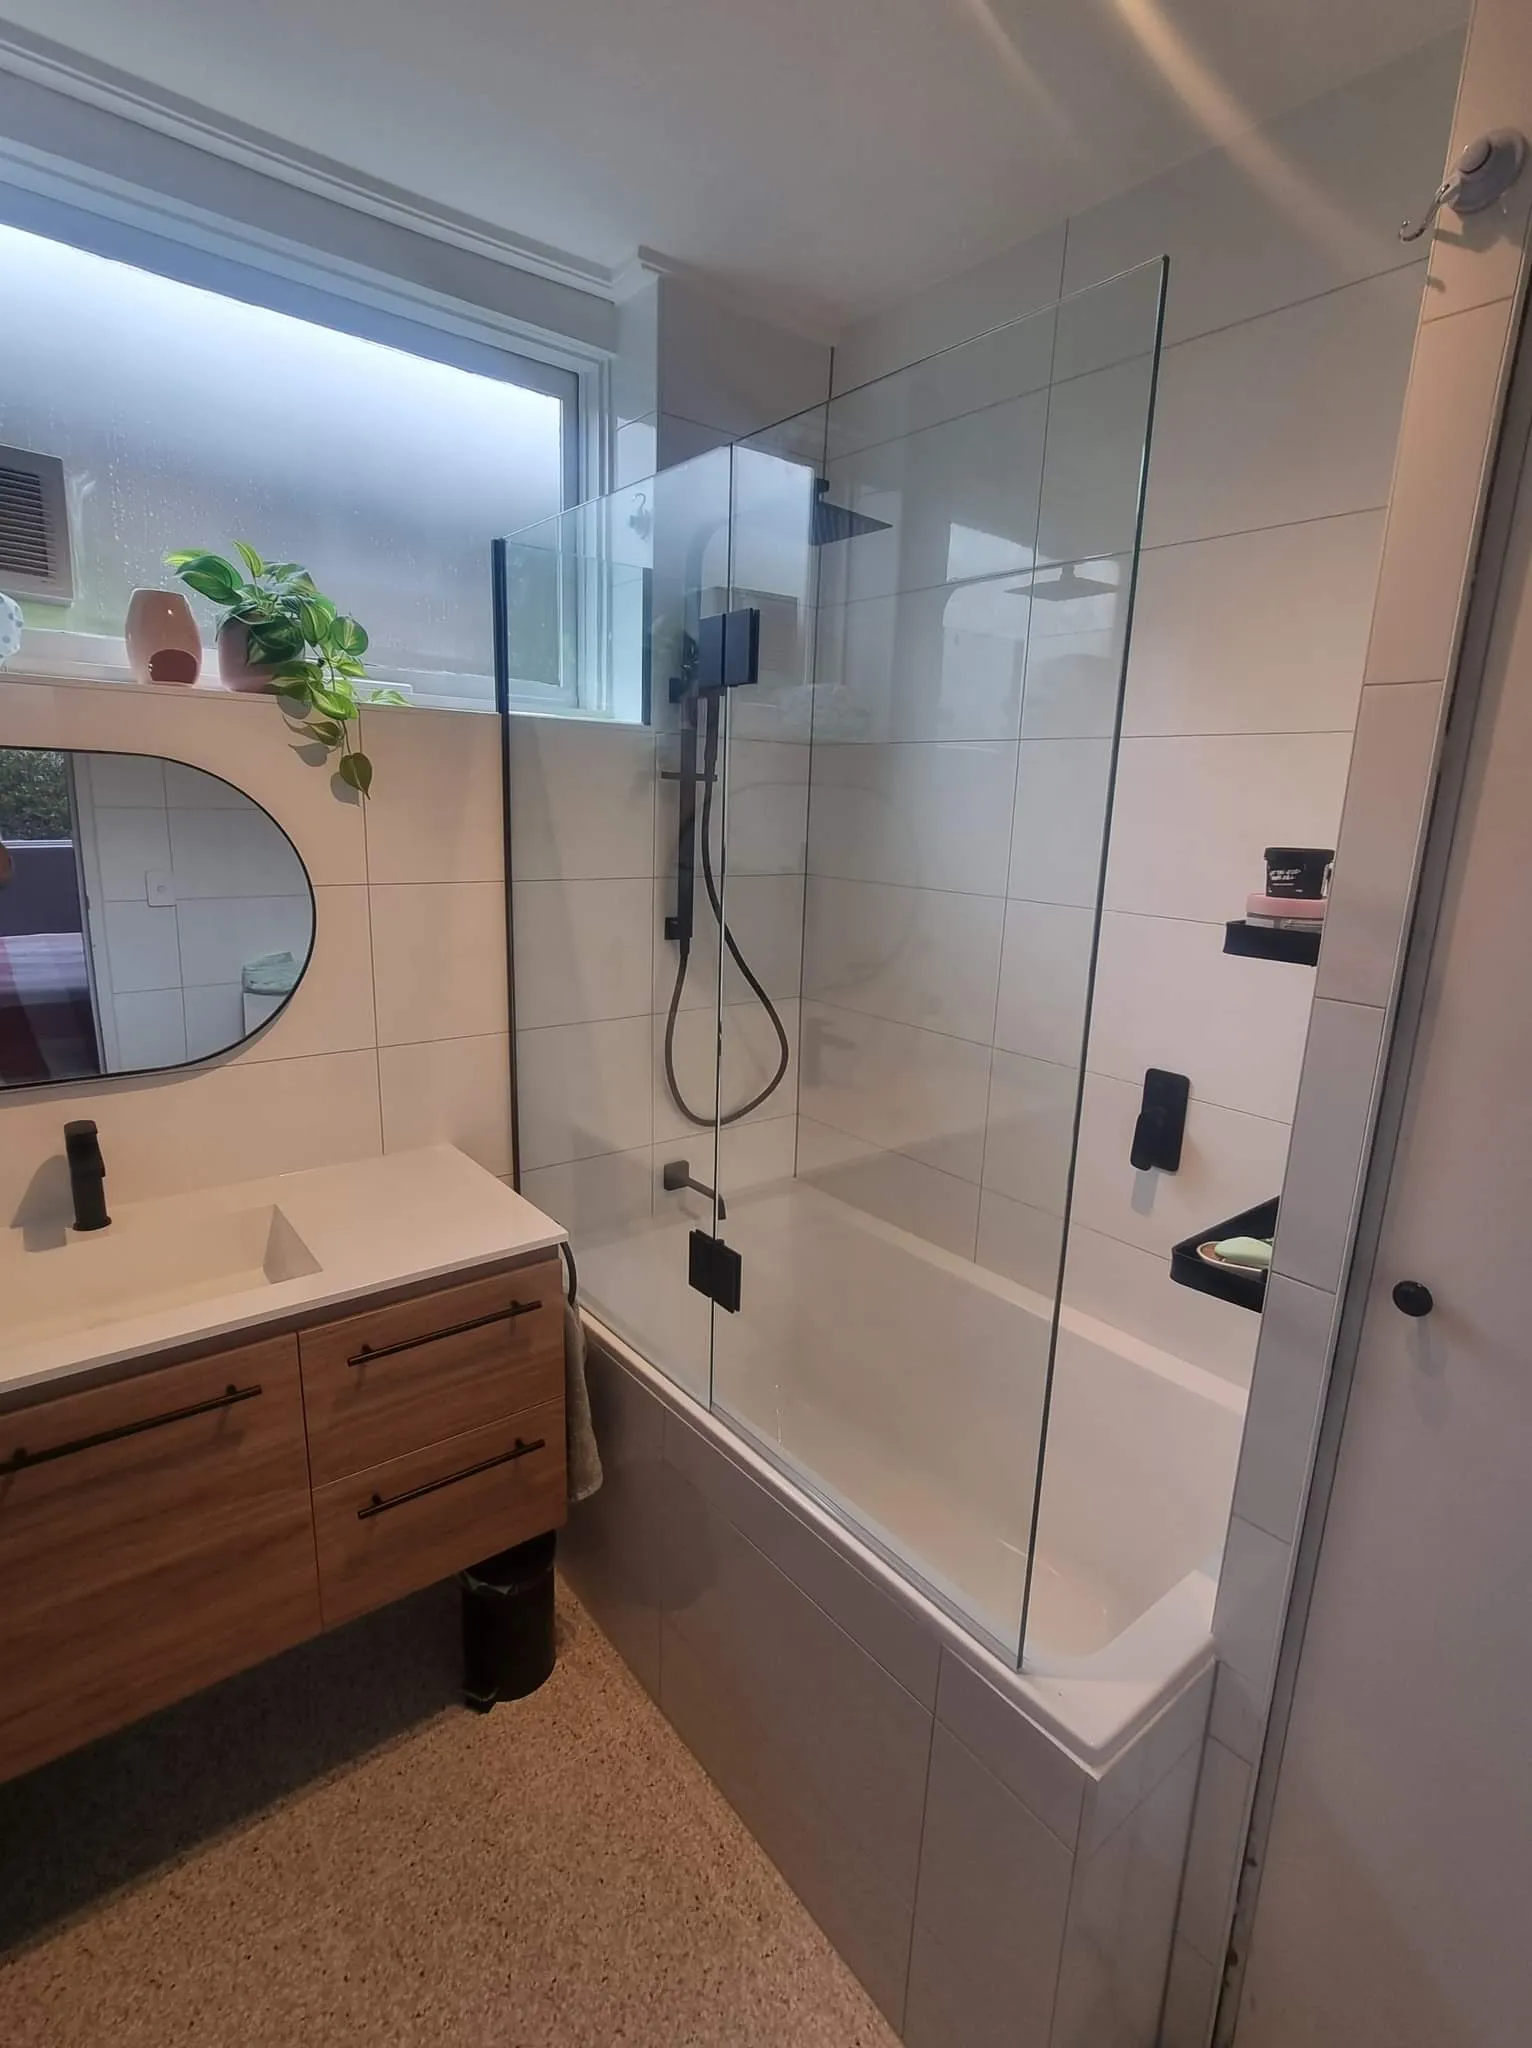
Semi-Frameless Screen: A blend of modern design and structure, offering a sleek yet strong option. It has framing on some edges, typically where the screen meets the wall.
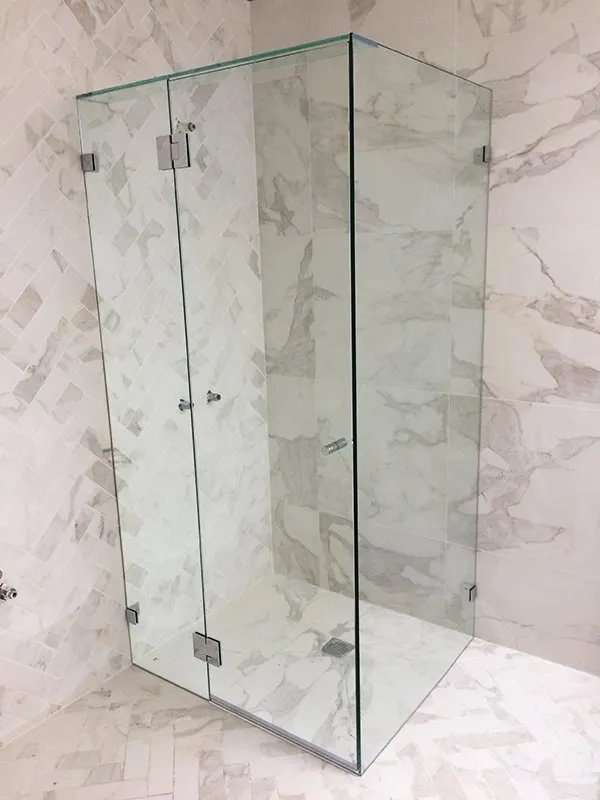
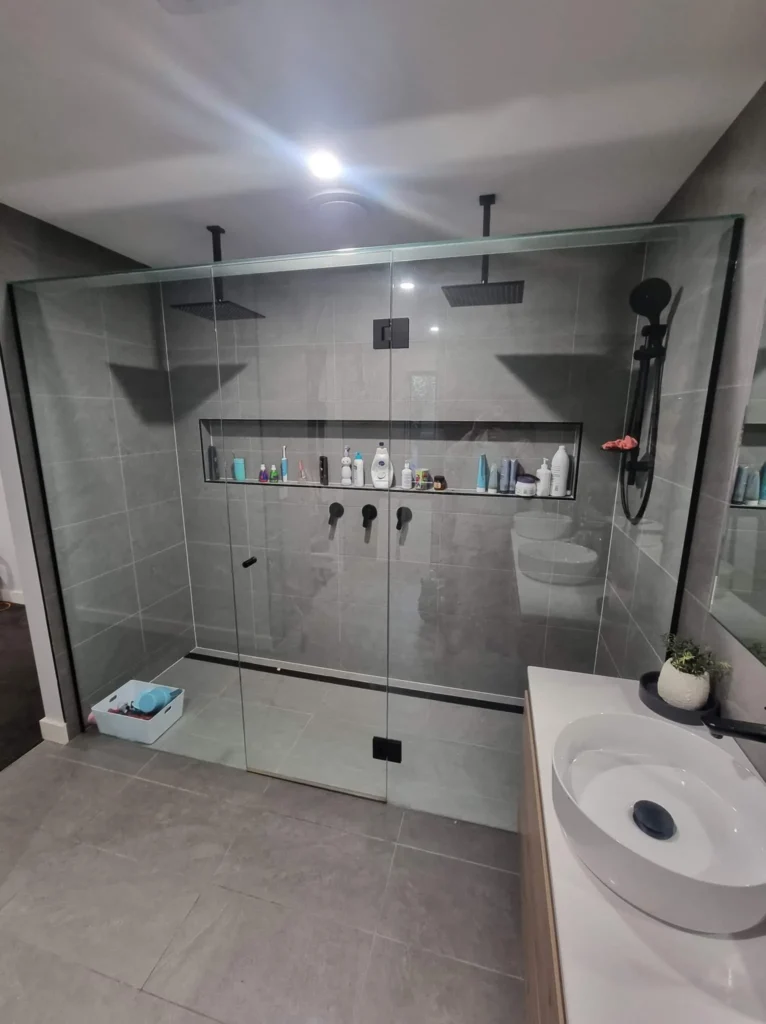
Frameless Shower Screen: Offers a minimalistic and contemporary look with no frames, giving a clean and uncluttered appearance.
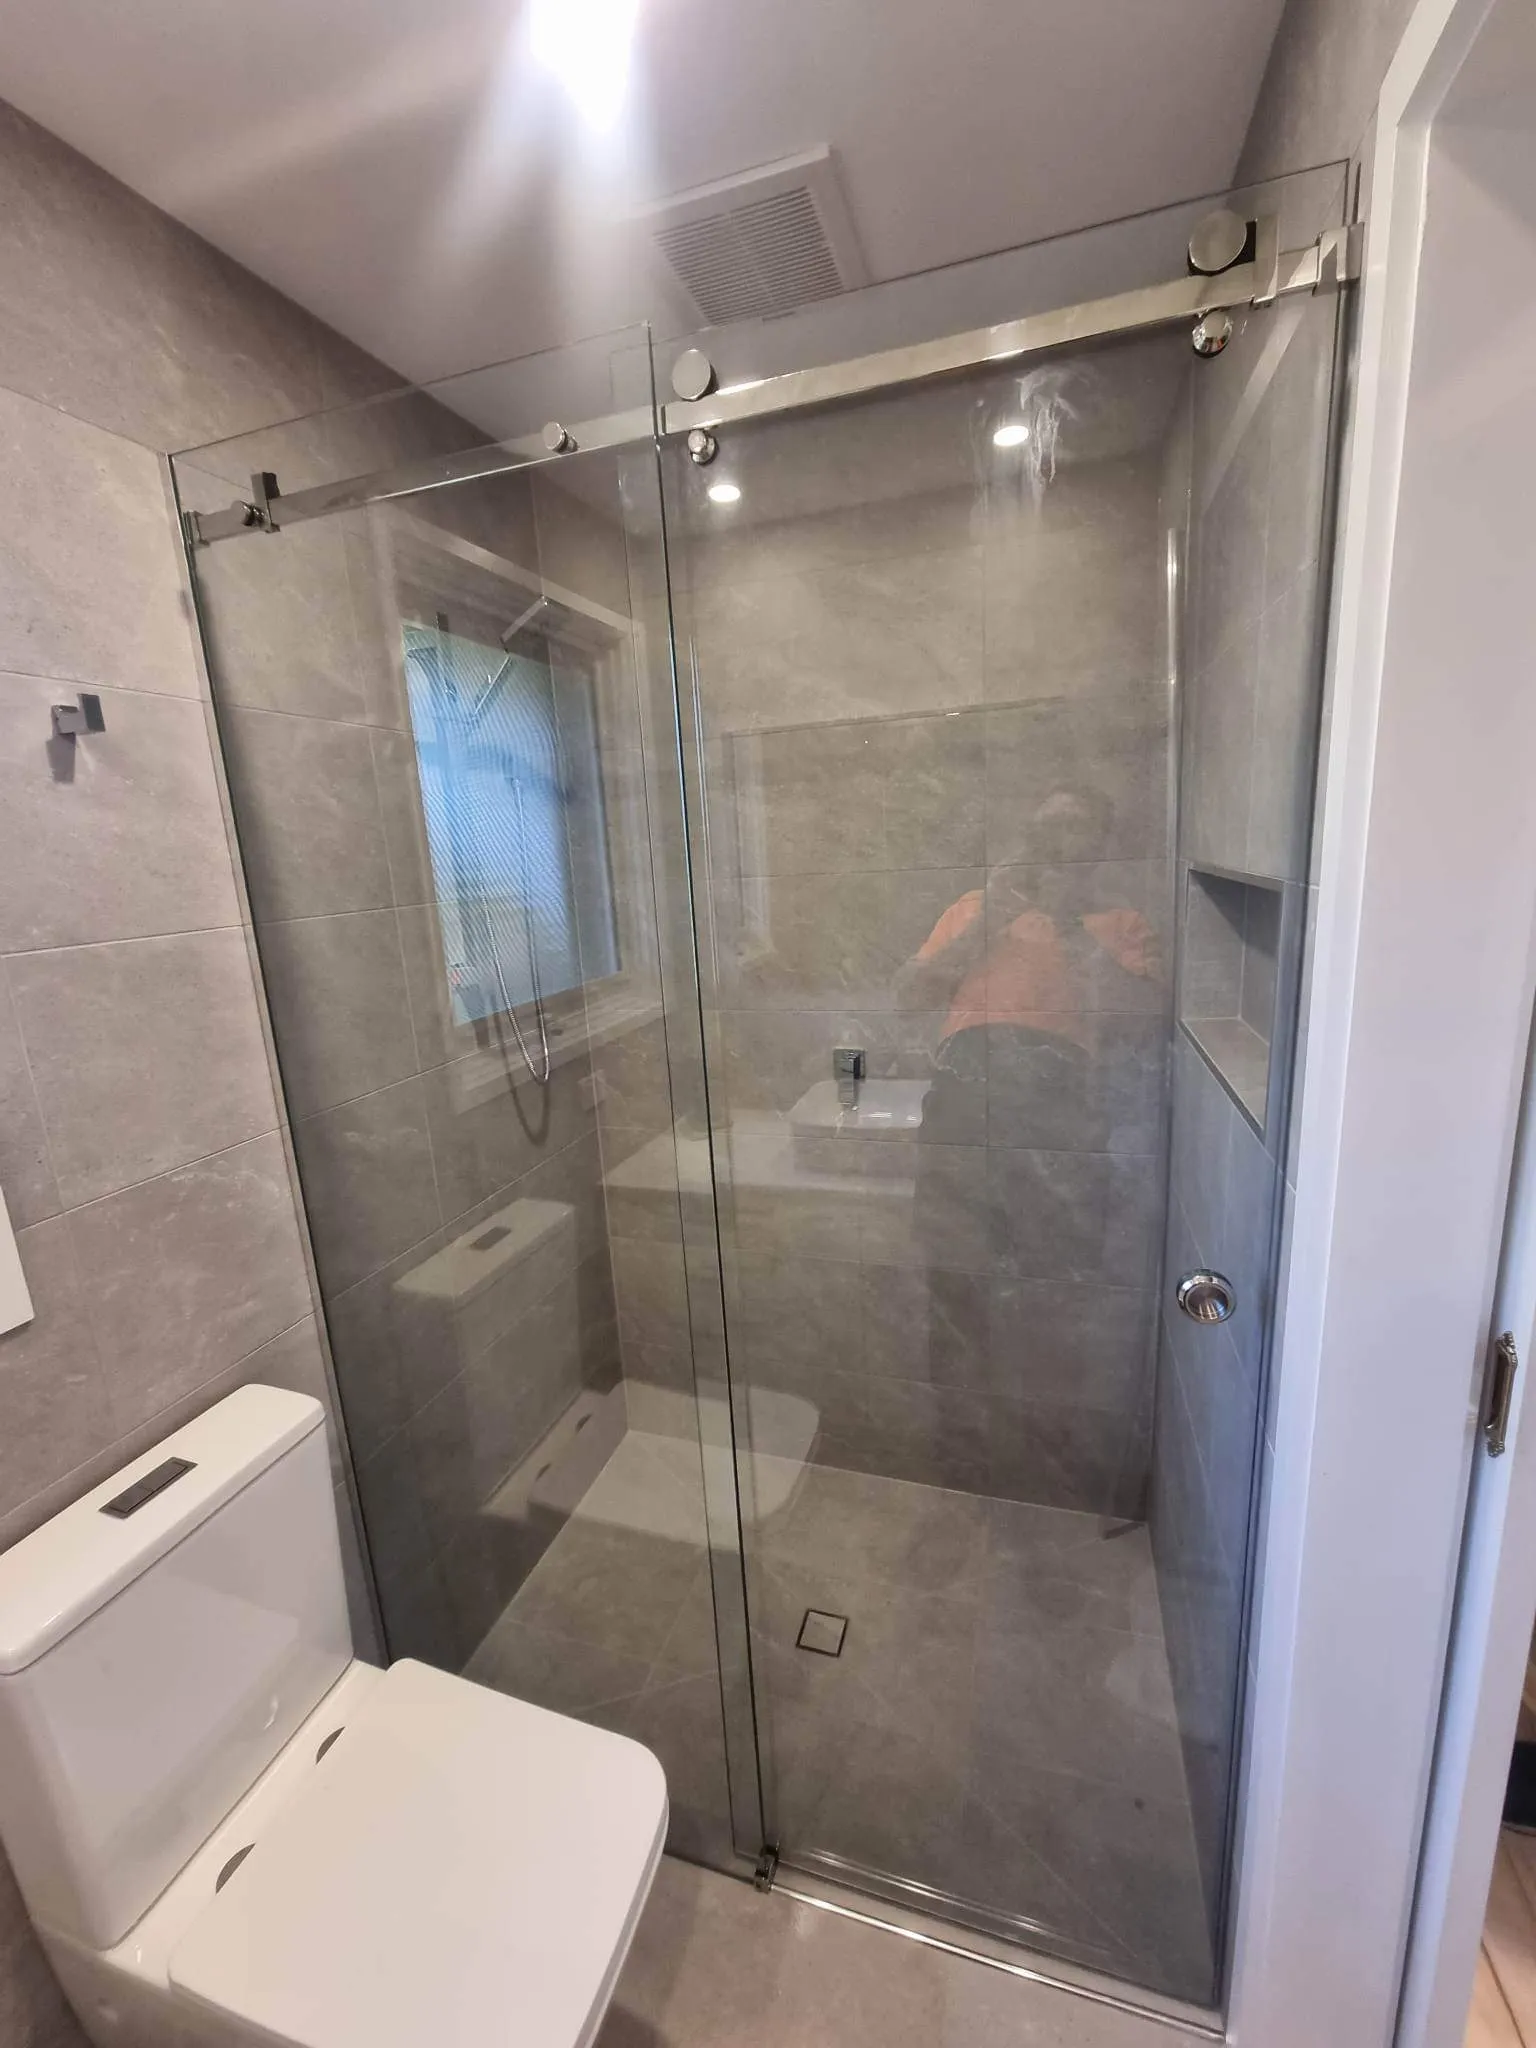
Fixed and Swing Panels / Sliding Screens: Great for maximising access and adapting to various bathroom layouts. Fixed and swing panels provide a combination of stability and flexibility, while sliding screens are ideal for saving space in tighter areas.
Each type of screen has its unique installation requirements, which can be complex without the right knowledge and experience.
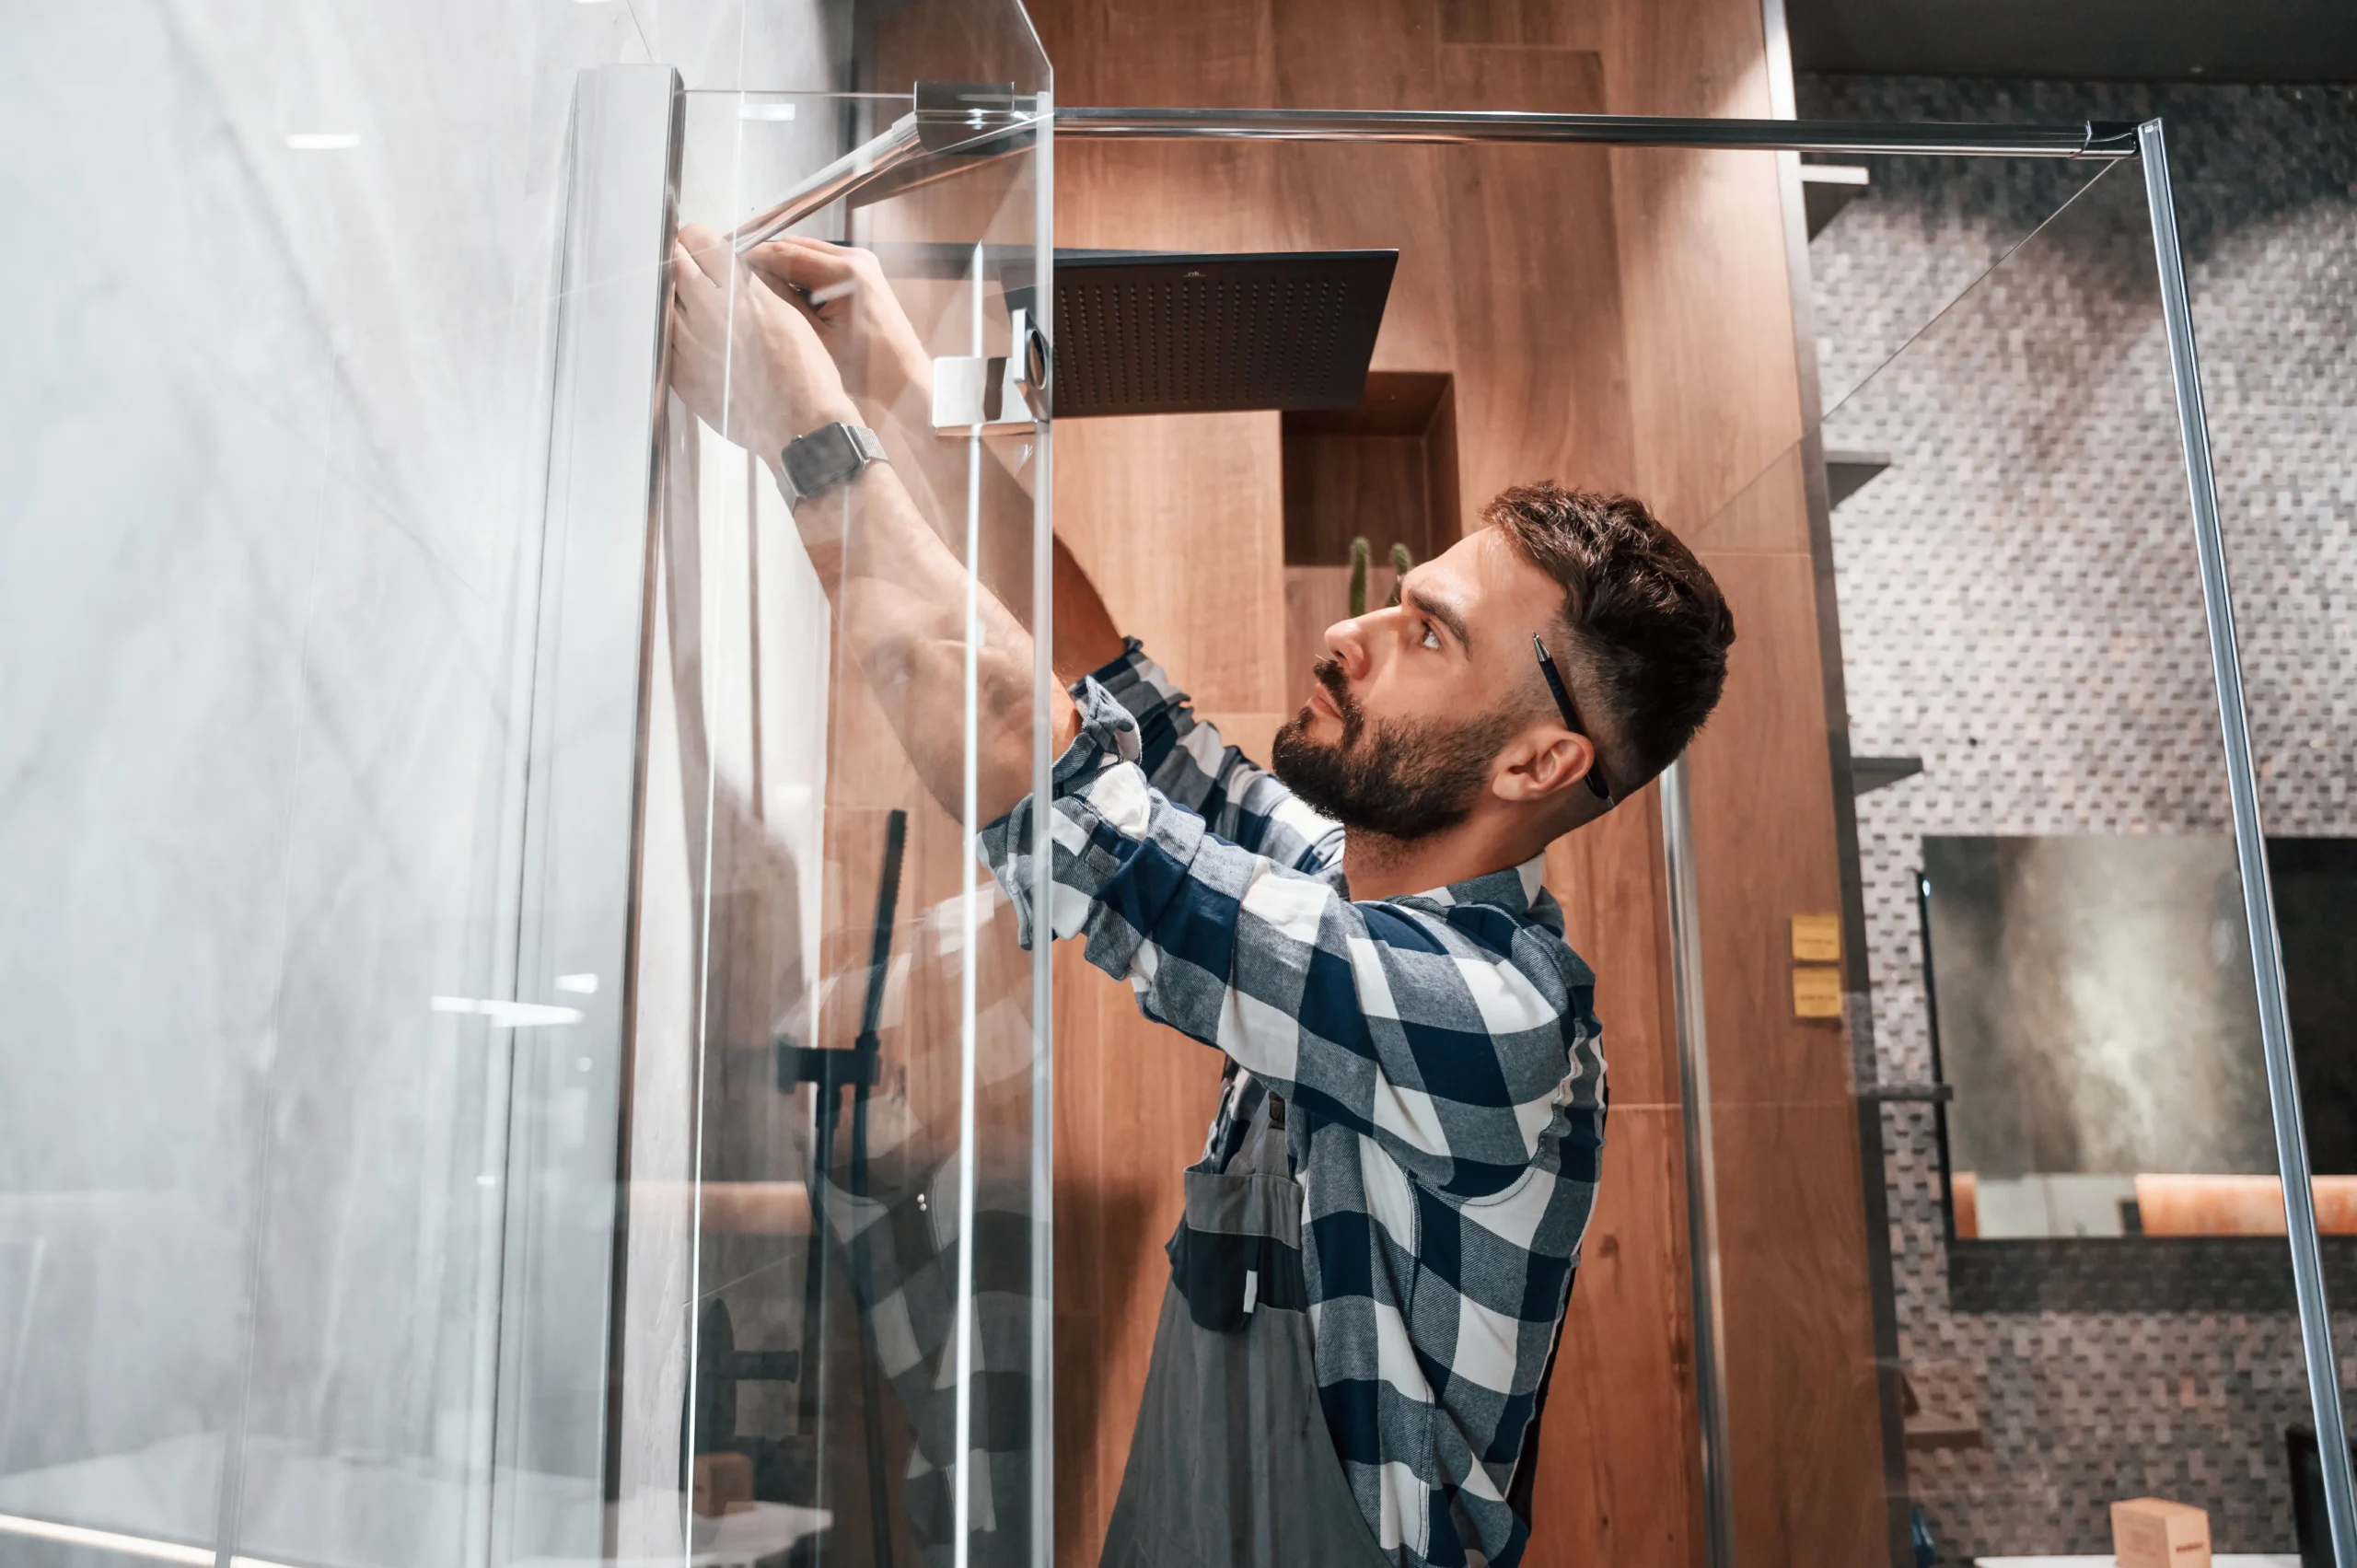
You're going to need a few essential tools to properly install your shower screen:
While these tools are readily available, using them correctly, especially on delicate surfaces like tiles, can be tricky and risky. That’s why it is always highly recommended that you contact a professional.
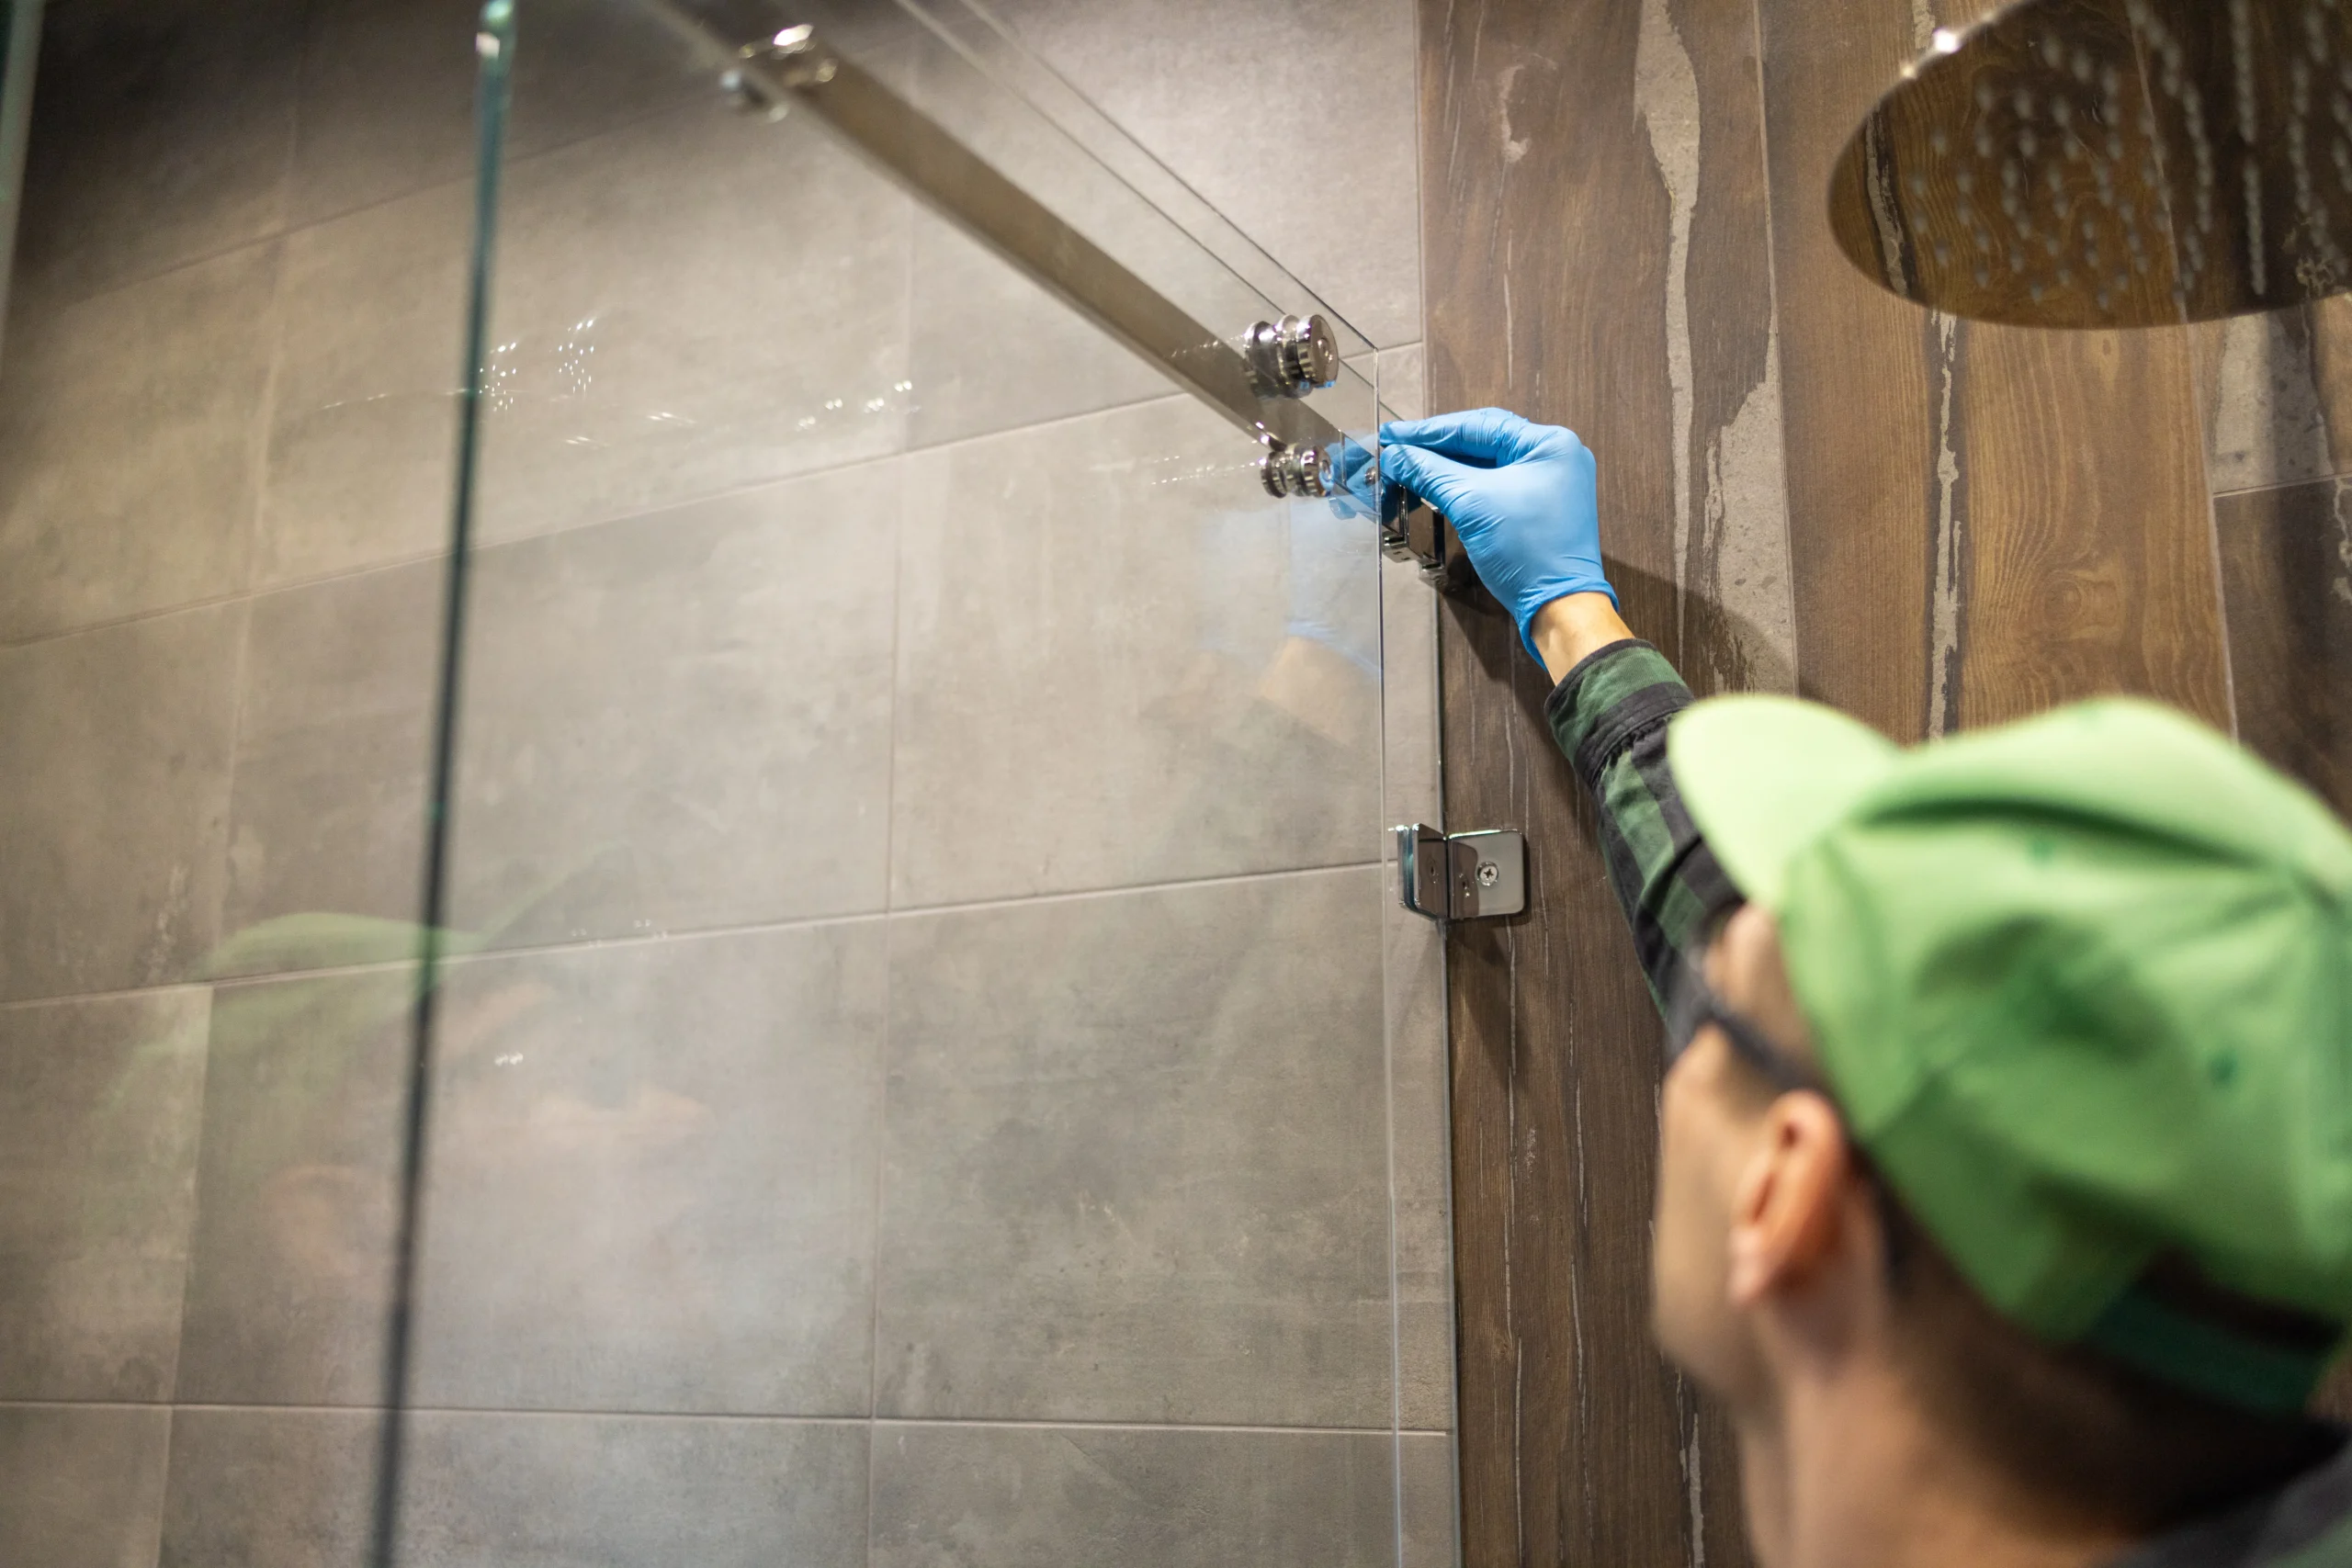
Let’s begin the installation of your shower screen by following these steps:
While these steps may sound straightforward, the reality is that achieving a perfectly aligned, secure, and watertight fit requires precision and experience.
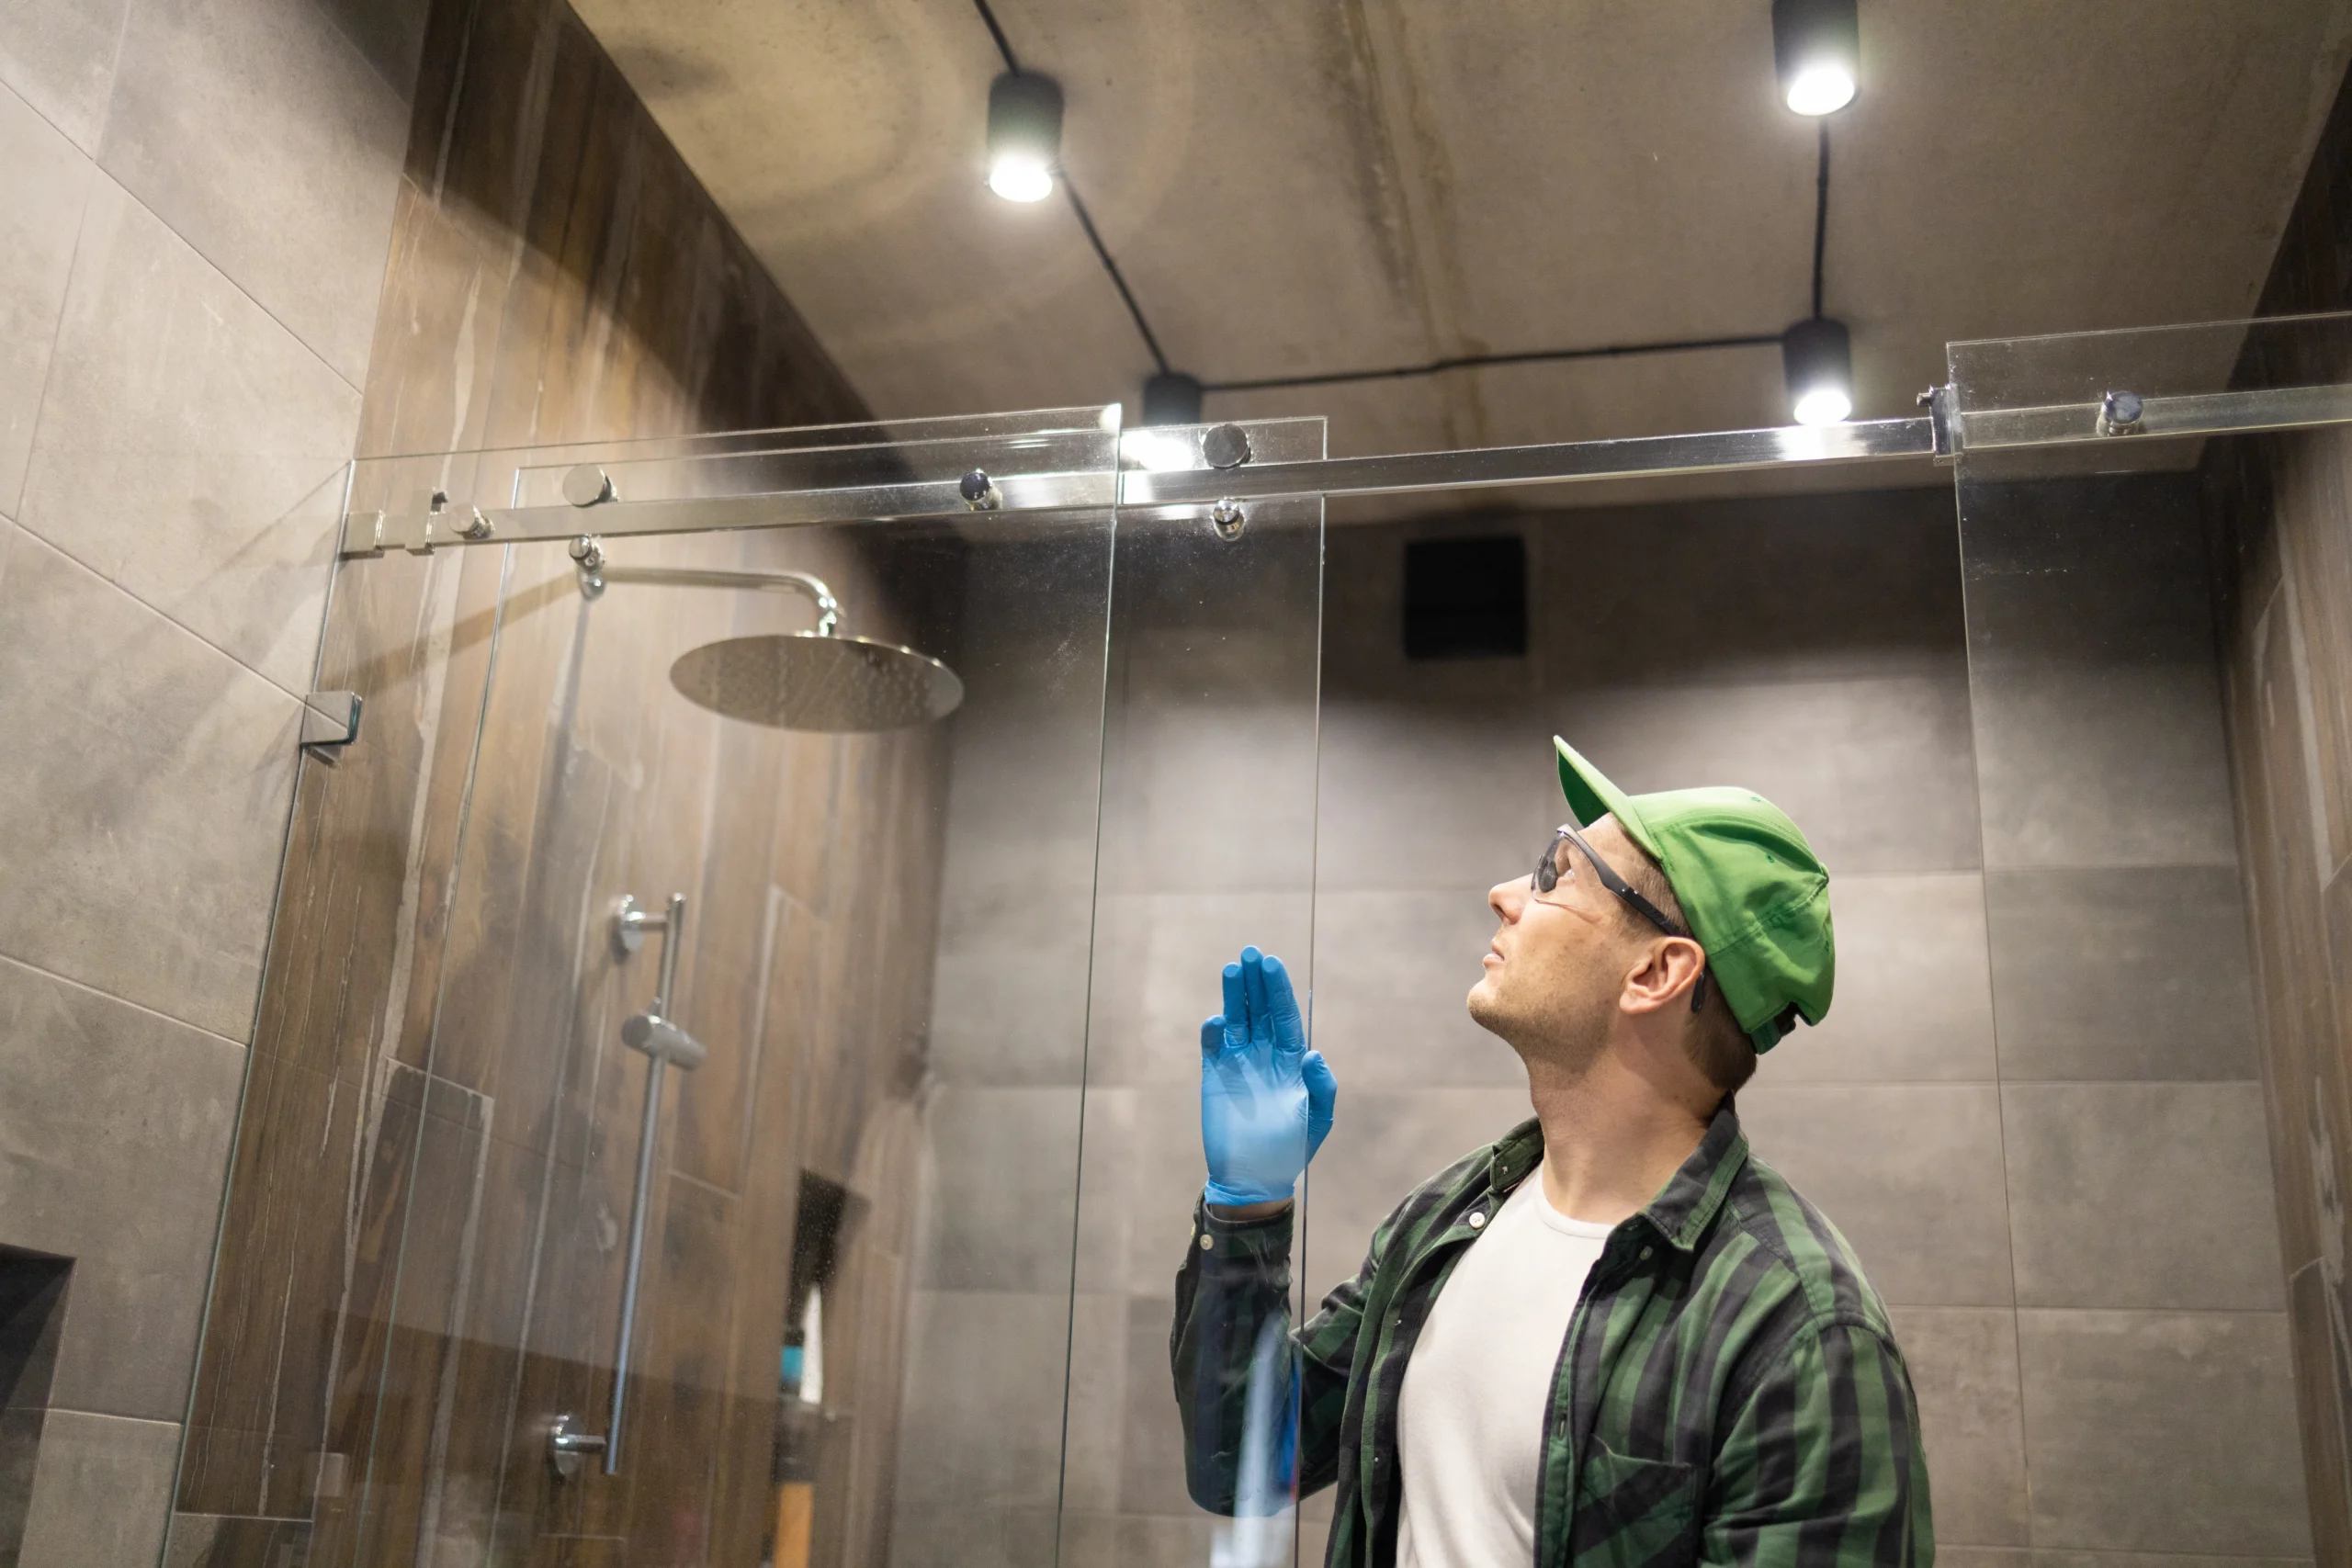
While setting up your shower screen might seem straightforward, you could run into a few common challenges that may complicate the installation process:
These challenges can make the DIY installation process daunting, even for those who consider themselves handy. This is where professional expertise becomes invaluable.
While the idea of DIY can be tempting, there are several reasons why opting for professional installation with A1 Shower Screens might be the better choice:
Choosing A1 Shower Screens means peace of mind knowing that your installation is done right the first time.
Once installed, it’s essential to maintain your shower screen properly to ensure its longevity and keep it looking sparkling clean:
With these maintenance tips, your shower screen will stay in good condition for years.
So, you see, while you can fit a shower screen yourself, it’s a task that requires the right tools, a bit of patience, and careful attention to detail. Yes, you might face a few challenges, but with a methodical approach, you’ll overcome them. However, the complexities and risks involved might make professional installation a more appealing option.
At A1 Shower Screens, we’re here to help with any questions or provide professional installation services to ensure your shower screen is fitted perfectly and safely. Contact us today for expert advice and quality installations.
Yes, you can install a shower screen without prior DIY experience, but it’s a complex task. Following the manufacturer’s instructions closely is crucial. However, if you’re unsure, it’s best to hire a professional to avoid potential issues.
Shower screen costs vary widely based on style, size, and material. Typically, they range from $100 to over $1000. You’ll also need to consider installation costs unless you’re doing it yourself.
Yes, you’ll need to follow local building regulations. These often involve ensuring the screen is properly sealed and waterproof, and installed at a safe height. It’s best to check specifics with your local authority.
While not strictly necessary, hiring a professional is highly recommended. If a shower screen isn't installed completely correctly, it can lead to leaks that cause water damage in walls, flooring, and even other rooms. Over time, that damage can be costly and difficult to repair. A professional ensures your screen is properly sealed, level, and secure—saving you time, hassle, and long-term repair bills.
Always wear protective gear, handle glass with care, and ensure secure fittings. Don’t rush, and if you’re unsure, it’s best to seek professional help.